

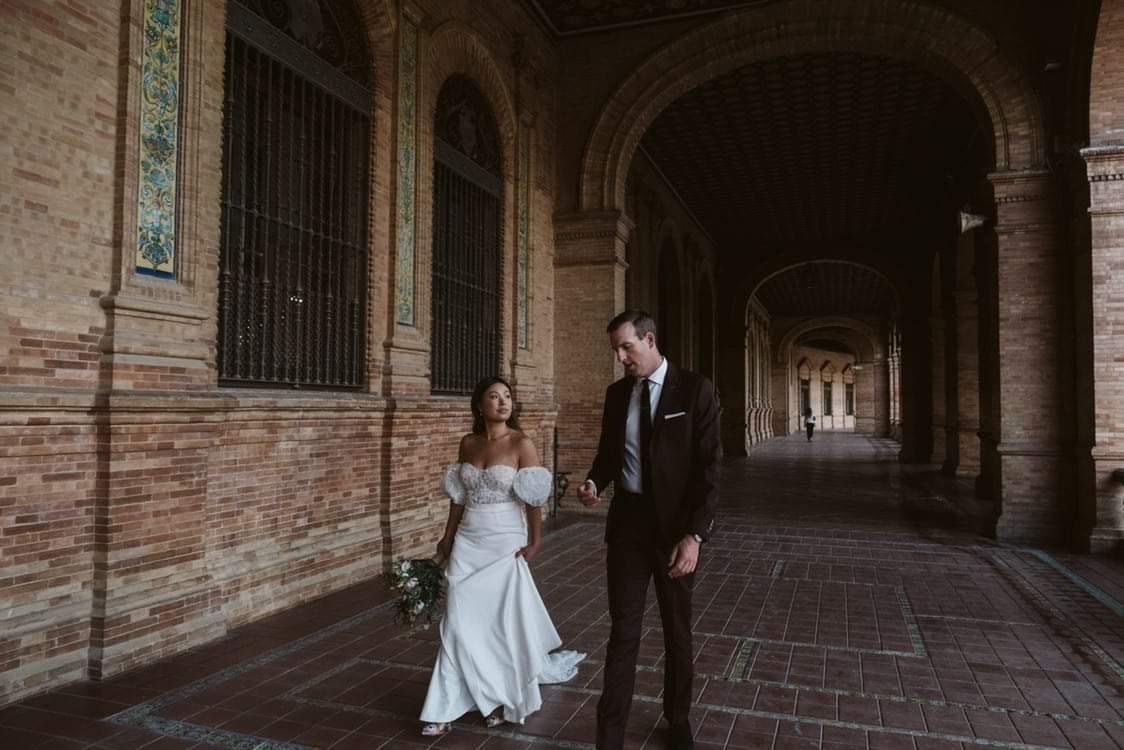
A slit changes how a gown moves. It shows a glimpse of leg as you walk, frees your stride in a fitted silhouette, and turns a classic dress into something more modern. It is also a cut that cannot be undone invisibly, so it is worth planning carefully.
Height and placement
We mark a slit on you, in your wedding shoes, never from a measurement alone. You stand, walk, sit and climb a step while we check the height, because a slit that looks right standing can open much higher when you sit.
- Front leg slit: the most dramatic, usually placed over one leg, slightly off centre.
- Side slit: softer, and kinder to a full skirt.
- Back slit: only suitable for a very specific type of gown, one without a train. On the right gown it gives room to walk and dance, and we’ll tell you at your consultation whether yours is one.
When the skirt has a seam in the right place, we follow it. The slit then sits on the gown’s own lines.
How it is built
Every layer of the skirt is cut and finished on its own. Satin, crepe and lining edges are faced or narrowly hemmed so they never fray; tulle does not fray, so it is cut cleanly and left soft. Lace edges are finished along the motifs, often with appliqués so the opening has a scalloped, intentional edge. The top of the slit is reinforced inside, so it does not tear the first time you take a big step on the dance floor.
Some fabrics need more thought. Satin and mikado show any ridge from a facing and any needle mark, so the edge finish has to be exact. A heavily beaded skirt means beads removed and re-sewn along the new edge, and a horsehair hem is reshaped where it meets the slit. We tell you at the consultation what your fabric allows.
Planning your slit
Adding, closing, raising or lowering a slit is quoted in person. Mention it on your bridal alterations quote, so we plan it with your hem: the hem is finished after the slit is set.
Want a different look for the reception? See our post on overskirts and convertible designs.